
How to Add Guides in Photoshop adobe Photoshop is one of the most powerful graphic design and photo editing tools in the world. Whether you are designing social media posts, editing photographs, creating website layouts, or making print designs, maintaining proper alignment is extremely important. This is where guides become useful.
Guides in Photoshop are non-printing lines that help you align elements, maintain consistent spacing, and keep your designs precise. Whether you are building a website layout, designing a social media banner, or editing a print document, knowing how to add guides in Photoshop is one of the most practical skills you can have.
This guide covers every available method from quick drag-and-drop to pixel-perfect placement along with keyboard shortcuts, guide layouts, Smart Guides, and customization tips your competitors left out.
What Are Guides in Photoshop
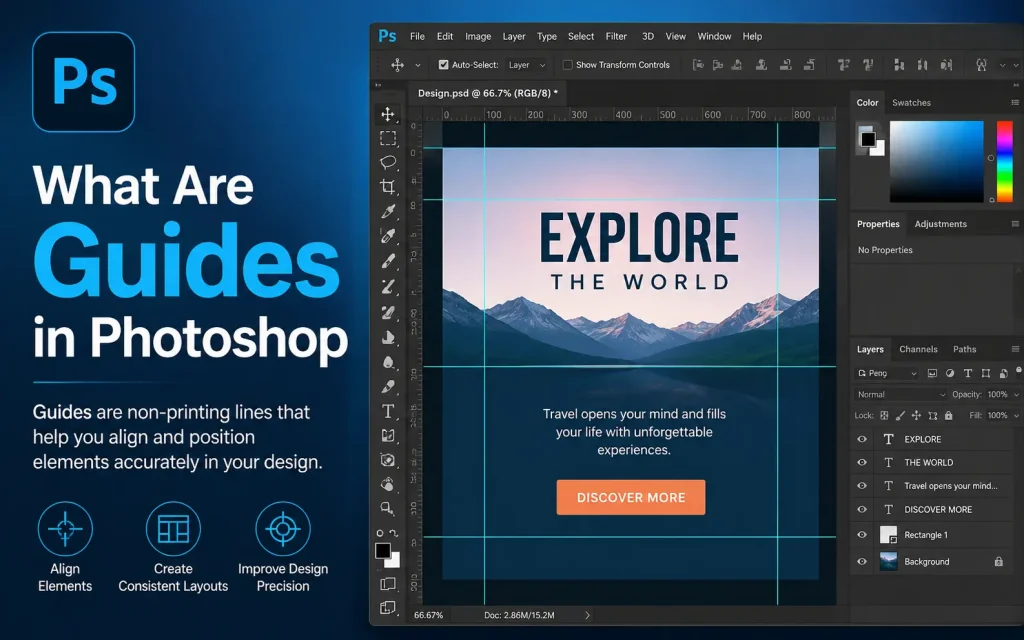
Guides are blue (or custom-colored) horizontal or vertical lines placed on your canvas. They are visible while you work but never appear in your final exported image. Think of them as invisible rulers laid directly on your canvas.
Designers use guides for:
- Alignment: Line up text, shapes, or images precisely.
- Margins and padding: Mark safe zones or bleed areas for print.
- Grid systems: Build column-and-row layouts for web and UI design.
- Rule of thirds: Place guides at 1/3 and 2/3 positions for better composition.
- Symmetry: Ensure elements are perfectly centered or evenly spaced.
Before You Begin: Enable Rulers
You need the ruler visible to drag guides from it. Here is how to enable rulers:
- Open your document in Photoshop.
- Go to View in the menu bar.
- Click Rulers, or use the shortcut Ctrl+R (Windows) or Cmd+R (Mac).
Tip: To change the ruler unit, right-click on the ruler and select your preferred unit. This also affects values you type in the New Guide dialog.
Method 1: Drag a Guide from the Ruler (Fastest Method)
This is the quickest way to add a guide when you want approximate placement.
Add a horizontal guide:
- Position your cursor on the top ruler (horizontal ruler along the top of the canvas).
- Click and hold, then drag downward onto the canvas.
- Release your mouse when the guide is in position.
Add a vertical guide:
- Position your cursor on the left ruler.
- Click and hold, then drag right onto the canvas.
- Release when satisfied with the placement.
Moving a guide: Select the Move Tool (V), hover over the guide until the cursor changes to a double arrow, then click and drag to reposition.
Method 2: Use the New Guide Dialog for Exact Placement
When you need pixel-perfect placement, the New Guide dialog gives you complete control.
- Go to View in the menu bar.
- Click New Guide.
- Choose Horizontal or Vertical under Orientation.
- Enter an exact position value (pixels, inches, centimeters, millimeters, points, or picas).
- Click OK to place the guide.
Why this method matters: Dragging from the ruler is fast but imprecise. The New Guide dialog lets you enter values like 150px, 2.5in, or 50%, making it the preferred method for professional design work.
Method 3: Create Multiple Guides with New Guide Layout
New Guide Layout is the most powerful method for adding guides. It creates a full grid of columns and rows in one step perfect for web design, UI layouts, and print grids.
- Go to View in the menu bar.
- Select New Guide Layout.
- Configure your options in the dialog (see table below).
- Click OK to apply.
| Option | What It Does |
| Columns | Sets the number of vertical divisions for column-based layouts |
| Rows | Sets the number of horizontal divisions for row-based layouts |
| Width / Height | Sets the width of each column or height of each row |
| Gutter | Adds whitespace between each column or row |
| Margin | Adds an inset margin from all four sides of the canvas |
| Center Columns | Centers the column grid on the canvas automatically |
| Preset | Save your layout as a named preset to reuse across documents |
Saving Presets: Once you configure a layout you like, click Save Preset to store it by name. Load it instantly in any future document.
Method 4: Create Guides from a Selection
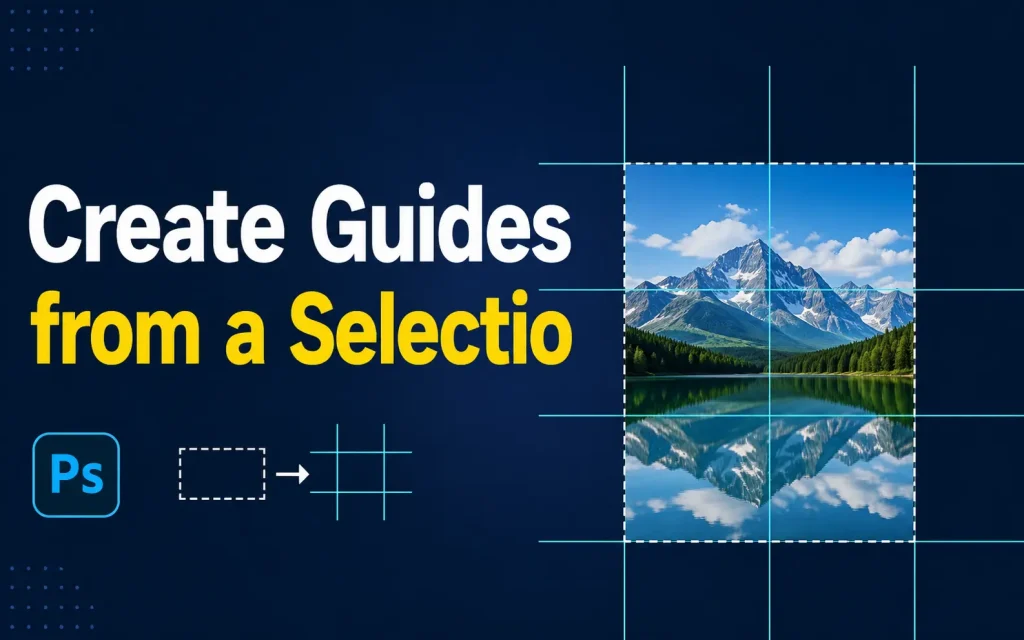
Photoshop can generate guides directly from an active selection a hidden feature not mentioned in most tutorials.
- Make a selection using any selection tool (Rectangular Marquee, Lasso, etc.).
- Go to View in the menu bar.
- Click New Guide from Selection (available in recent Photoshop versions).
Photoshop places four guides that align exactly with the top, bottom, left, and right edges of your selection. This is extremely useful when you need to mark the exact boundaries of an existing element.
Method 5: Use Smart Guides for Dynamic Alignment
Smart Guides are automatic, temporary guides that appear as you move layers. They highlight alignment with other elements, canvas edges, and center points in real time.
Enable Smart Guides:
- Go to View in the menu bar.
- Select Show.
- Click Smart Guides (ensure it has a checkmark).
| Smart Guide Feature | What It Shows |
| Edge alignment | When a layer edge lines up with another layer’s edge |
| Center alignment | When the center of one layer aligns with another’s center |
| Canvas center | When a layer reaches the horizontal or vertical center of the document |
| Equal spacing | Distance indicators when elements are evenly spaced between others |
| Object dimensions | Width and height of the layer being moved |
Essential Keyboard Shortcuts for Guides in Photoshop
| Action | Windows Shortcut | Mac Shortcut |
| Show / Hide Rulers | Ctrl + R | Cmd + R |
| Show / Hide Guides | Ctrl + ; | Cmd + ; |
| Lock / Unlock Guides | Alt + Ctrl + ; | Alt + Cmd + ; |
| Snap to Guides (toggle) | Shift + Ctrl + ; | Shift + Cmd + ; |
| Switch guide orientation while dragging | Hold Alt while dragging | Hold Option while dragging |
| Edit guide (exact position) | Double-click guide with Move Tool | Double-click guide with Move Tool |
| Clear all guides | View > Clear Guides (menu) | View > Clear Guides (menu) |
How to Move and Edit Guides
Move a guide:
- Select the Move Tool (press V).
- Hover over the guide until the cursor changes to a double-headed arrow.
- Click and drag the guide to a new position.
Edit a guide to an exact position:
- With the Move Tool selected, double-click directly on the guide.
- The Edit Guide dialog opens.
- Enter a new position value and adjust orientation if needed.
- Click OK.
Locking, Hiding, and Removing Guides
Lock all guides:
- Go to View Lock Guides, or press Alt+Ctrl+; (Windows) / Alt+Cmd+; (Mac).
- Locked guides cannot be moved or deleted until unlocked using the same command.
Hide guides without deleting them:
- Go to View Show Guides, or press Ctrl+; (Windows) / Cmd+; (Mac).
- Guides stay in place but become invisible. Use the same shortcut to show them again.
Delete a single guide:
- Select the Move Tool (V), click the guide, and drag it completely off the canvas into the ruler area.
Delete all guides:
- Go to View Clear Guides.
- This removes every guide immediately. Use with caution.
How to Snap Layers to Guides
Snapping makes objects automatically jump to the nearest guide when you move them close, ensuring perfect alignment.
- Go to View Snap (ensure it is enabled with a checkmark).
- Go to View Snap To.
- Select Guides from the submenu.
To disable snapping temporarily while dragging, hold Ctrl (Windows) or Cmd (Mac) during the move.
How to Customize Guide Color and Style
- Go to Edit Preferences (Windows) or Photoshop Preferences (Mac).
- Select Guides, Grid & Slices.
- Click the color swatch under Guides to choose a custom color.
- Use the Style dropdown to switch between Solid Line and Dashed Line.
- Click OK to apply.
| Preference | Options |
| Guide Color | Preset colors (Blue, Cyan, Magenta, Yellow, Black, Red, Green) or custom hex color |
| Guide Style | Solid Line or Dashed Line |
| Smart Guide Color | Separate color control from regular guides |
| Grid Color | Independent color and style for the background grid |
Practical Use Cases: How Designers Use Guides
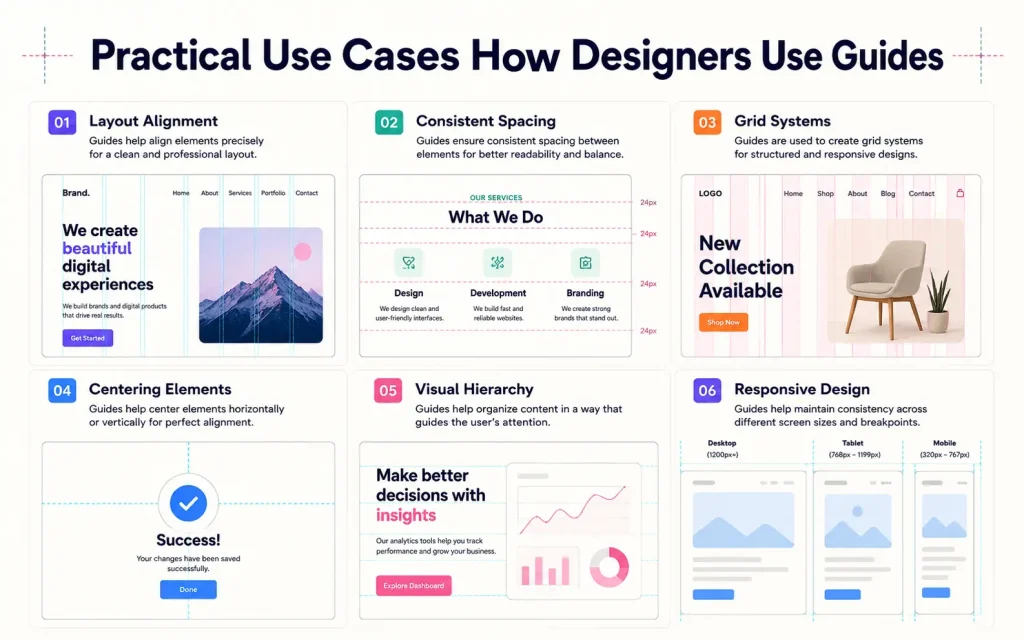
1. Web and UI Design 12-Column Grid
Use New Guide Layout to create a 12-column grid with gutters matching your CSS framework (Bootstrap uses 30px gutters). This ensures your Photoshop mockup matches the final coded layout exactly.
2. Rule of Thirds for Photography
Place horizontal guides at 33.3% and 66.6% of canvas height, and vertical guides at 33.3% and 66.6% of canvas width. The four intersection points are the strongest focal areas in any composition.
3. Print Design Bleed and Safe Zones
For standard A4 print, place guides 3mm from each edge for bleed and 10mm from each edge for the safe zone. Use the New Guide Layout margin field to do this in one step.
4. Social Media Templates
Create guides marking the safe text area (e.g., center 80% of a 1080×1080 canvas). Save as a Guide Layout Preset for instant reuse on every social graphic.
5. Centering a Single Element Precisely
Go to View > New Guide, enter 50% in the Position field with Horizontal orientation. Repeat for Vertical. The two guides cross exactly at the canvas center.
Quick Comparison: All Methods for Adding Guides
| Method | Best For | Precision | Speed |
| Drag from Ruler | Quick, rough positioning | Low | Very Fast |
| New Guide Dialog | Exact pixel or unit placement | Very High | Moderate |
| New Guide Layout | Full column/row grid systems | Very High | Fast (once set up) |
| Guide from Selection | Aligning to existing element edges | Very High | Fast |
| Smart Guides | Real-time alignment while moving layers | High (automatic) | Instant |
Troubleshooting: Common Guide Problems and Fixes
| Problem | Solution |
| Guides are not visible | Press Ctrl+; (Win) / Cmd+; (Mac) to toggle visibility |
| Cannot drag a guide from the ruler | Enable rulers: View > Rulers or Ctrl+R / Cmd+R |
| Guides will not snap to position | Enable: View > Snap and View > Snap To > Guides |
| Accidentally moved a guide | Press Ctrl+Z to undo, or enable Lock Guides: View > Lock Guides |
| Cannot see guides on the canvas | Change guide color: Edit > Preferences > Guides, Grid & Slices |
| New Guide Layout is greyed out | Ensure you have an open document before using this feature |
Why Every Designer Should Learn Guides
Guides are one of the most underrated tools in Photoshop. Although they may seem simple, they contribute significantly to design quality and efficiency.
Without guides, aligning objects manually becomes difficult and time-consuming. Small inconsistencies can quickly accumulate and make a design appear unprofessional.
By mastering guides, designers gain more control over spacing, balance, and composition. This leads to cleaner layouts, improved productivity, and better-looking projects overall.
FAQs
How do I add guides in Photoshop?
You can add guides by enabling rulers with Ctrl + R (Windows) or Cmd + R (Mac) and then dragging a guide from the horizontal or vertical ruler onto your canvas.
Can I create guides at exact positions in Photoshop?
Yes. Go to View New Guide, choose whether you want a horizontal or vertical guide, and enter the exact position value.
What are guides used for in Photoshop?
Guides help align text, images, and other design elements accurately, making layouts cleaner and more professional.
Can I lock guides after adding them?
Yes. To prevent accidental movement, go to View > Lock Guides.
Do guides appear when exporting or printing a Photoshop file?
No. Guides are non-printing elements and are only visible inside Photoshop while you are editing.
Final Thought
Adding guides in Photoshop is a foundational design skill. Whether you drag a quick guide from the ruler, enter an exact value in the New Guide dialog, build a full column grid with New Guide Layout, or let Smart Guides snap your layers into alignment every method serves a specific workflow.
Master all five methods and their keyboard shortcuts. Lock your guides when your layout is set, customize their color when needed, and save Layout Presets to reuse across projects. The more deliberately you use guides, the cleaner and more professional your designs will be.
Start using rulers, guides, smart guides, and snapping tools in every project. As your design skills improve, guides will become an essential part of your workflow.
You May Also Like It:
How to Hide Guides in Photoshop
How to Talk to Your Spirit Guides
How to Find Child Friendly Tour Guides