
How to Write Productivity Mini Guides most people have tried reading a 5,000-word productivity guide and given up halfway through. You know the feeling. Too much theory, not enough action, and by the time you reach the tips, you have forgotten why you started.
That is exactly where productivity mini guides come in. And if you want to write one, you are in the right place.
This guide walks you through everything you need: what a productivity mini guide is, why it works, how to plan it, how to write it, and how to make it better than anything else out there on the topic.
What Is a Productivity Mini Guide
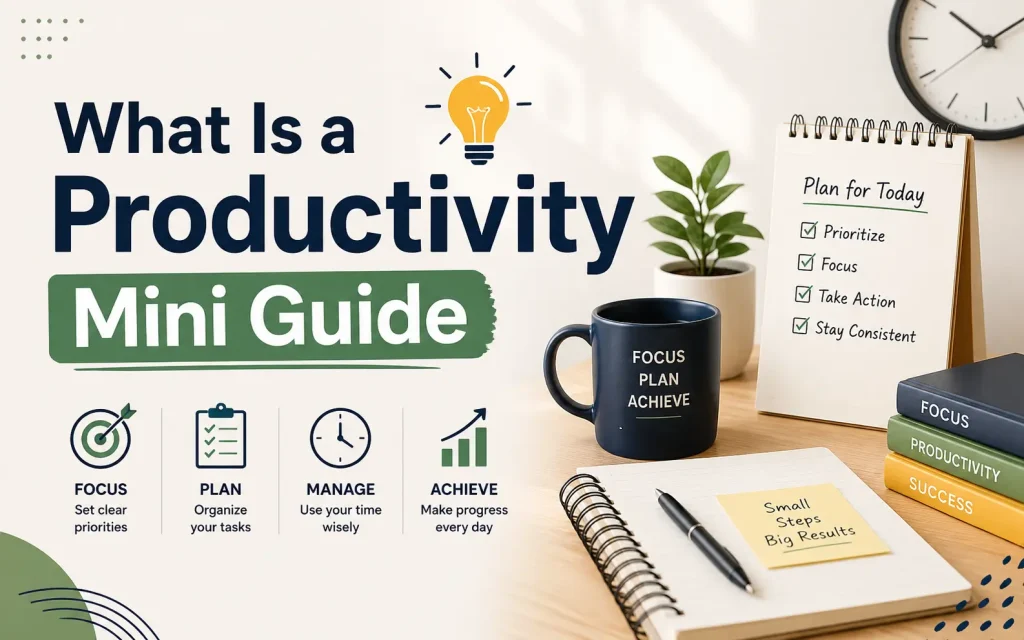
A productivity mini guide is a short, focused piece of content, usually between 500 and 2,000 words, that teaches one specific skill, system, or habit clearly and quickly.
It is not a blog post. It is not a long ebook. It sits in between: more structured than a quick tip, more digestible than a full manual.
Think of it like a recipe card for your brain. Everything you need, nothing you don’t.
Mini guides are especially effective for productivity topics because productivity readers are, by nature, people who want to waste as little time as possible. If your guide takes too long to deliver value, you have already failed at the one thing you are trying to teach.
Why Mini Guides Work Better Than Long-Form Guides for Productivity Topics
Here is something your competitors rarely say out loud: longer does not mean better.
Research from Nielsen Norman Group consistently shows that people read only about 20 to 28 percent of the text on any given web page. That means most of your long guide is being skipped anyway.
Mini guides work because they:
- Match the reader’s actual attention span
- Create a sense of completion, which builds momentum
- Are easier to share, save, and return to
- Reduce “information overload,” which is the number one reason people abandon productivity systems
- Give readers a quick win, which motivates them to take further action
The goal of a productivity mini guide is not to impress the reader with how much you know. It is to get them to do one thing differently after they finish reading.
Step 1: Choose One Specific Problem to Solve
The biggest mistake writers make when creating productivity mini guides is trying to cover too much.
Here are examples of the difference:
| Too Broad | Just Right |
|---|---|
| How to be more productive | How to plan your week in 20 minutes on Sunday |
| Time management tips | How to stop wasting your first hour of work |
| Better mornings | A 5-step morning routine for deep focus |
The more specific your topic, the more useful your guide, and the easier it is to write.
A good way to find the right topic is to ask: what is one thing I wish someone had told me earlier? Or: what is the question I get asked most often?
Step 2: Know Exactly Who You Are Writing For
Your mini guide needs to speak to one type of reader, not everyone.
Ask yourself:
- Are they a beginner or someone who already knows the basics
- Are they a freelancer, a student, a parent, a remote worker
- What do they already know, and what do they still find confusing
- What have they already tried that hasn’t worked
When you know your reader clearly, your language gets sharper. You stop using vague phrases like “improve efficiency” and start saying things like “finish your three most important tasks before lunch, even on your busiest days.”
Specificity builds trust. And trust is what makes a guide feel authoritative rather than generic.
Step 3: Pick the Right Format for Your Mini Guide
Not every productivity mini guide should follow the same structure. The format should match the type of problem you are solving.
Here are the most effective formats:
The Step-by-Step Process Best for: teaching a repeatable action or workflow. Example structure: Step 1, Step 2, Step 3. Each step is clear and builds on the one before it.
The Quick Reference Sheet Best for: concepts people need to return to often. Example structure: Definitions, key rules, a short checklist. Works well as a downloadable PDF.
The Framework Guide Best for: helping readers think about a problem differently. Example structure: Introduce the framework, explain each part, give an example of it in action.
The Troubleshooting Guide Best for: readers who have tried something and hit a wall. Example structure: Common problem, why it happens, how to fix it. Very useful for productivity struggles like procrastination or distraction.
The Comparison Guide Best for: helping readers choose between approaches. Example structure: Method A vs Method B, pros and cons, recommendation.
Choose the format that makes your content clearest, not the one that sounds most impressive.
Step 4: Write an Outline Before You Write Anything Else
Skipping the outline is the fastest way to write a mini guide that rambles.
A good outline for a productivity mini guide looks like this:
- Hook: one or two sentences that show you understand the reader’s frustration or goal
- Promise: what this guide will help them do
- Main sections: usually three to five, each covering one point
- Actionable close: what to do right now
Keep each section name short and clear. If your section heading takes more than eight words to read, it is probably trying to do too much.
Step 5: Write Like You Are Talking to One Person
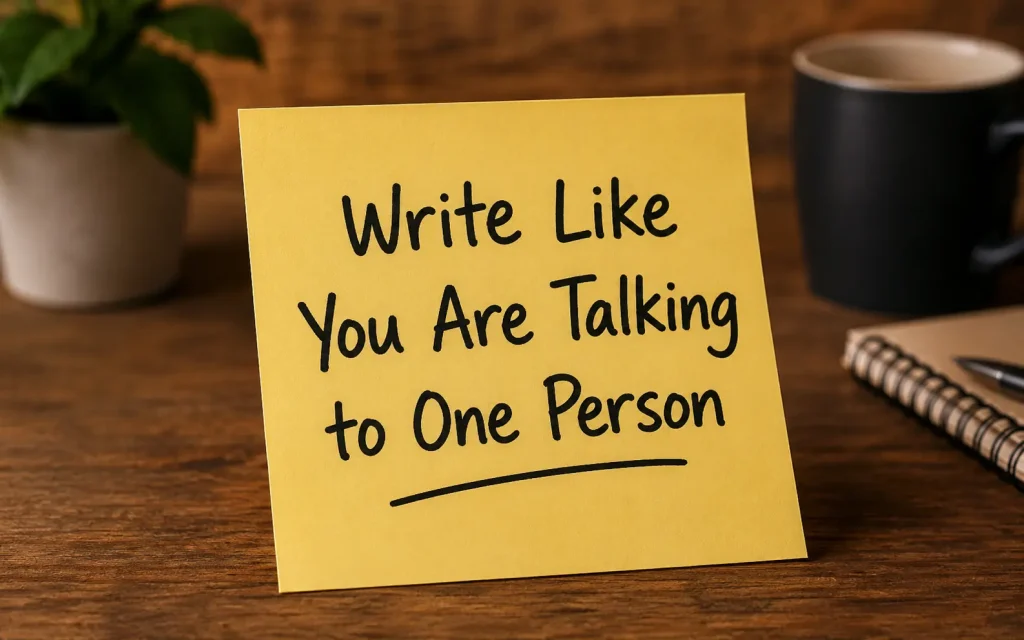
This is where most guides fall flat. They sound like corporate training manuals.
Productivity mini guides should feel like advice from a knowledgeable friend, not a lecture from a professor.
Some rules to write by:
- Use “you” and “your” throughout, not “one” or “readers”
- Write in short paragraphs. Three sentences maximum per paragraph in most cases
- Use active voice. “Complete your task list before noon” not “Task lists should be completed before noon”
- Avoid jargon unless your reader already uses it
- Say the hard thing directly. If something most people get wrong, name it clearly
One technique that works well: before you write a section, say it out loud as if explaining it to a friend. Then write what you said. It forces natural, clear language.
Step 6: Structure Every Section for Skimmability
Even in a short mini guide, readers will skim first and read in depth second.
Structure your content so that someone who only reads the headings still gets the main ideas.
Use these formatting tools deliberately:
- Headings: make each one a clear statement or question, not a vague label
- Bullet points: use them for lists of three or more items, not for every sentence
- Bold text: highlight the single most important phrase per section, not every other word
- White space: short paragraphs with space between them are easier to read than dense blocks
- Callout boxes or pull quotes: great for emphasizing a single key insight
One thing competitors often miss: skimmability is not just about formatting. It is about putting your most important sentence at the start of each section, not at the end.
Step 7: Include One Clear Action Step Per Section
This is the difference between a guide that feels inspiring and one that actually changes behavior.
At the end of each section (or woven into it), give the reader one concrete thing to do. Not a suggestion. Not something to “consider.” A specific action.
Examples:
- “Write down three tasks for tomorrow before you close your laptop tonight.”
- “Set a 25-minute timer right now and work on only one thing until it goes off.”
- “Delete the social media apps from your phone’s home screen today.”
The more specific the action, the more likely the reader is to do it. Vague calls to action like “try to focus more” accomplish nothing.
Step 8: Open with a Hook, Not a Definition
Most productivity mini guides start with a definition. “Productivity is the ability to…”
Nobody needs that. Your reader already knows what productivity is. They are reading your guide because they want to get better at it.
Start instead with something that creates immediate recognition:
- A frustration they know well: “You have been staring at your to-do list for 20 minutes and haven’t started yet.”
- A surprising fact: “The average knowledge worker loses 2.1 hours per day to interruptions, according to data from Basex Research.”
- A direct promise: “This guide gives you a 15-minute weekly planning system you can start using this Sunday.”
Any of these pulls the reader in faster than a textbook opening.
Step 9: End with Momentum, Not a Summary
Most guides end with a bullet-point recap of everything covered. That is safe, but it is also forgettable.
A stronger close does one of three things:
Give a specific first step. Tell the reader exactly what to do in the next 10 minutes. This converts reading into action.
Acknowledge the resistance. “You might feel like you don’t have time to plan your week. Do it anyway. The 20 minutes you spend planning saves you three hours of wasted effort.”
Point to what comes next. If your guide is part of a series, tell the reader what the next guide covers and why it matters.
The closing is the last impression you leave. Use it to send the reader into action, not to repeat what you already said.
Step 10: Edit for Clarity, Not Length
Once you have a draft, the editing pass is where good mini guides become great ones.
Go through your draft and ask:
- Is every sentence earning its place?
- Are there sections that could be cut without losing anything important?
- Is there anything that could be said in fewer words?
- Does every section heading clearly tell the reader what they will learn?
- Is the language clear enough that a smart 15-year-old could understand it?
The Hemingway App is a free tool that highlights complex sentences and passive voice. It is useful for checking whether your writing is as clear as you think it is.
One rule of thumb: if a sentence takes a second read to understand, rewrite it.
What Your Competitors Are Missing: The Gap Most Mini Guides Leave Open

After reviewing the top content on this topic, here are the things most guides do not cover:
They do not talk about reader psychology. Understanding why people abandon guides halfway through is as important as knowing how to write one. The answer is usually one of two things: the guide asks for too much commitment too early, or it is not specific enough to feel relevant.
They do not address distribution. Writing a great mini guide is only half the job. Where does your reader find it? A PDF on your website, a free download in exchange for an email address, a post on Medium, a product listing on Gumroad or Etsy: each of these contexts changes how you write and format the guide.
They skip the testing phase. A mini guide is not done when you publish it. Share it with five people who match your target reader. Ask them one question: what would you do differently after reading this? Their answers tell you whether your guide is creating action or just creating awareness.
They underestimate the title. The title of your mini guide is the most important sentence you will write. It needs to name the benefit, the reader, and ideally the timeframe. “A Productivity Guide” tells the reader nothing. “How to Plan Your Entire Week in 20 Minutes” tells them exactly what they are getting.
A Simple Checklist Before You Publish Your Mini Guide
Use this before you hit publish on anything:
- The topic is specific enough that one type of reader will feel it is written for them
- The title names a clear benefit
- The opening hook creates recognition or curiosity within the first two sentences
- Each section has one clear main point
- Every section includes at least one actionable step
- Headings are clear enough to communicate the guide’s structure even when read alone
- Paragraphs are three sentences or fewer in most places
- The closing tells the reader what to do next
- It has been read by at least one person who matches the target reader
FAQs
What is a productivity mini guide?
A productivity mini guide is a short, focused resource that helps readers complete one specific task or improve one aspect of their productivity using simple, actionable steps.
How long should a productivity mini guide be?
Most productivity mini guides are between 500 and 1,500 words. The ideal length depends on the topic, but the content should stay concise and easy to follow.
What topics work best for productivity mini guides?
Popular topics include time management, task prioritization, goal setting, email organization, meeting efficiency, note-taking, habit building, and daily planning.
How do I choose a topic for a productivity mini guide?
Focus on solving one specific problem your audience faces. Choose a topic that can be explained with practical steps, examples, and clear outcomes.
What should be included in a productivity mini guide?
A good guide should include an introduction, step-by-step instructions, practical tips, examples, common mistakes to avoid, and a short summary or checklist.
Final Thought
A productivity mini guide is, in many ways, a test of the very skill it teaches. If you cannot write one clearly and concisely, it is hard to convince a reader you understand productivity.
The good news is that the skills that make a great mini guide are the same skills that make someone more productive in general: clarity of purpose, respect for other people’s time, and a bias toward action over information.
Start with one topic. Write the guide. Share it. Improve it. Then write the next one that is the system.
You May Also Like It:
How to Use ChatGPT for Style Guides