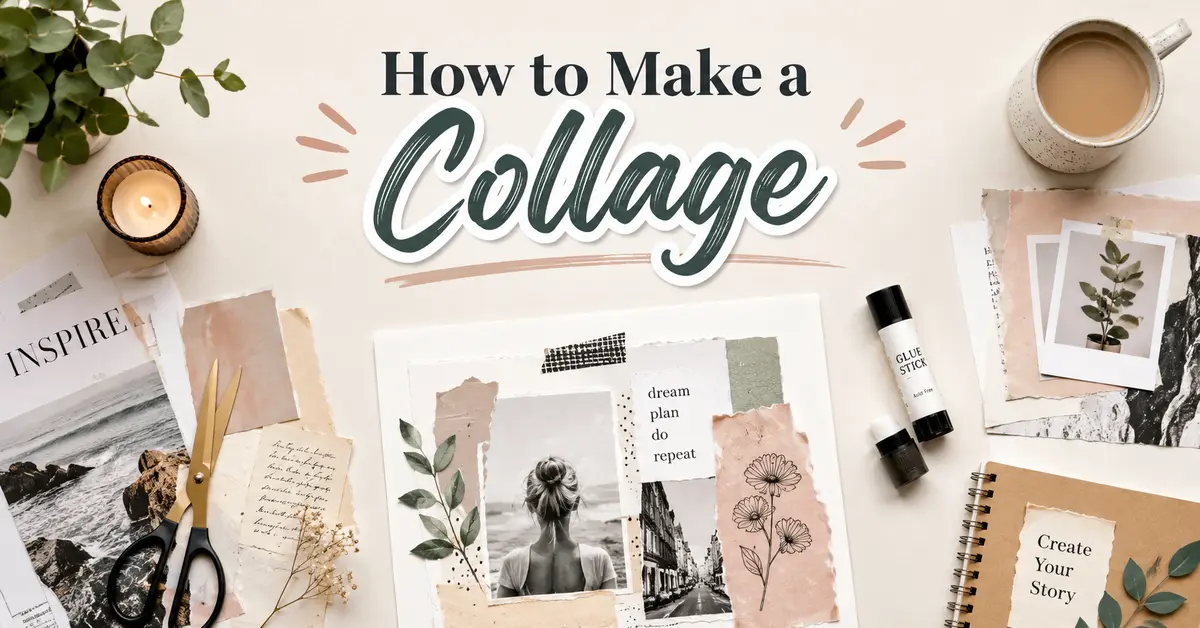

Collage art is one of the most accessible and creative forms of expression. Whether you are working with magazine cutouts, photographs, paper textures, or digital tools, collage allows you to build visual stories using layered elements.
This guide will show you how to make a collage from start to finish, including planning, materials, composition techniques, common mistakes to avoid, and advanced tips that most guides do not cover
What Is a Collage?
A collage is an art technique where different materials are combined into a single composition. These materials can include:
- Magazine images
- Printed photos
- Colored paper
- Fabric pieces
- Text or typography
- Digital graphics
The goal is to create a unified artwork from separate elements.
Types of Collages
Before learning how to make a collage, it helps to understand the main types:
Paper Collage (Traditional)
Made using scissors, glue, and physical materials like magazines and paper.
Digital Collage
Created using software or online tools where images are layered digitally.
Mixed Media Collage
Combines paint, ink, paper, fabric, and drawing techniques.
Photomontage
Focuses mainly on photographs arranged into a creative composition.
Each type follows the same core principles of composition and storytelling.
Materials You Need to Make a Collage
One thing many beginners miss is choosing the right base and adhesives. Here is a complete checklist:
Essential Materials:
- Thick paper, cardstock, or watercolor paper
- Scissors and craft knife
- Glue stick or archival glue
- Old magazines, books, printed images
- Cutting mat (optional but helpful)
Optional Materials:
- Transparent gel medium (for sealing)
- Tweezers for small pieces
- Ruler for alignment
- Sketchbook for planning layouts
Important Tip:
Use acid-free glue if you want your collage to last longer without yellowing or damage.
Step 1: Plan Your Collage Before You Start
Most beginners skip planning, but this is what separates random collages from professional-looking artwork.
Ask yourself:
- What story am I trying to tell?
- Do I want a chaotic or minimal style?
- What color theme will I use?
- Create a Rough Sketch
Lightly draw shapes or zones on your paper:
- Background area
- Main focal point
- Supporting elements
This helps you control composition before you glue anything.
Step 2: Collect and Select Your Images
Instead of grabbing random visuals, choose materials with intention.
Where to find good images:
- Old magazines and newspapers
- Personal photographs
- Free printable images online
- Packaging designs and labels
Smart selection strategy:
Group images into categories:
- Faces and people
- Nature and textures
- Objects and symbols
- Typography and text
This makes composition easier later.
Step 3: Understand Composition (Most Important Skill)
A strong collage depends on layout, not just images.
Use the Rule of Thirds
Divide your page into a 3×3 grid. Place key elements along these lines or intersections to create balance.
Create Visual Hierarchy
Decide what the viewer should notice first:
- Main subject (largest or most detailed)
- Secondary elements
- Background texture
- Balance Your Layout
Avoid placing all heavy visuals on one side. Spread visual weight evenly.
Step 4: Cut and Prepare Your Elements
Cutting style changes the entire feel of your collage.
Cutting techniques:
- Clean cuts for modern, sharp designs
- Tearing for soft, organic textures
- Mixed edges for dynamic contrast
Advanced tip:
Leave a thin border around cut images instead of cutting exactly on the edge. This makes blending smoother and more natural.
Step 5: Experiment With Layout Before Gluing
One major mistake beginners make is gluing too early.
Instead:
- Place all elements loosely on your base
- Try multiple arrangements
- Take photos of each version
- Compare compositions
This step helps you avoid permanent mistakes and improves creativity.
Step 6: Start Gluing Strategically
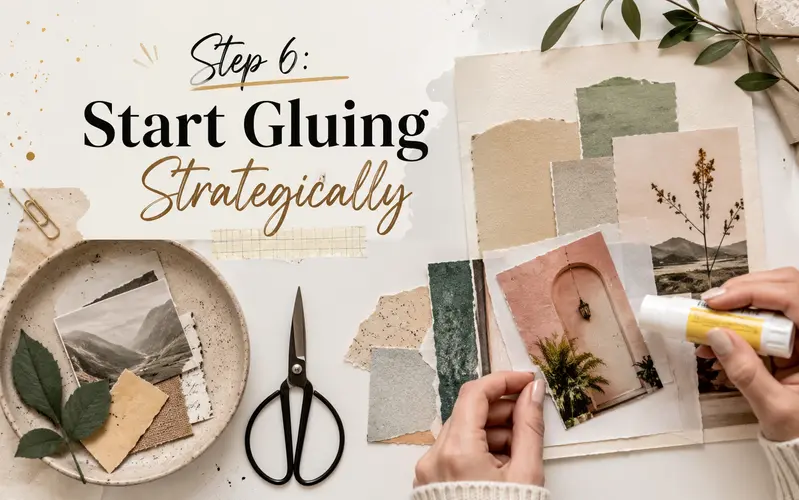
Once your layout is final, start gluing carefully.
Best practice:
- Glue background first
- Add mid-layer elements
- Finish with focal details
Pro tip:
Apply glue evenly from the center outward to avoid air bubbles.
Step 7: Add Depth and Texture
A great collage feels layered, not flat.
Ways to add depth:
- Overlap images slightly
- Use different paper thicknesses
- Mix smooth and rough textures
- Add shadows with light pencil shading
Missing tip most guides ignore:
You can lightly fold or bend paper edges to create 3D effects without extra materials.
Step 8: Use Color Theory for Better Results
Color is often ignored in beginner collages.
Simple rules:
- Use 2–4 main colors for harmony
- Add one contrasting color for focus
- Match background tones with key subjects
Example:
If your collage is warm-toned (orange, yellow), add a cool accent (blue or green) to create contrast.
Step 9: Add Typography and Meaning
Words can transform your collage into storytelling art.
You can include:
- Quotes
- Headlines
- Single impactful words
- Handwritten notes
Keep typography minimal so it doesn’t overpower visuals.
Step 10: Final Touches and Sealing
Once finished, protect your artwork.
Options:
- Light layer of matte gel medium
- Clear fixative spray
- Framing under glass
Important:
Do not oversaturate glue or sealant. It can warp paper over time.
Common Mistakes to Avoid
Most beginners repeat these errors:
- Using too many images without focus
- Ignoring composition rules
- Over-gluing or under-gluing
- Not planning before starting
- Mixing unrelated styles randomly
Fixing these improves your results instantly.
Advanced Collage Tips (Pro Level)
These are rarely explained in basic guides:
Create a focal path
Guide the viewer’s eye through your collage using shapes and alignment.
Layer storytelling
Use foreground, middle, and background levels intentionally.
Break symmetry
Slight imbalance often creates more visual interest than perfect symmetry.
Mix realism and abstraction
Combine realistic images with abstract shapes for depth.
Digital vs Physical Collage
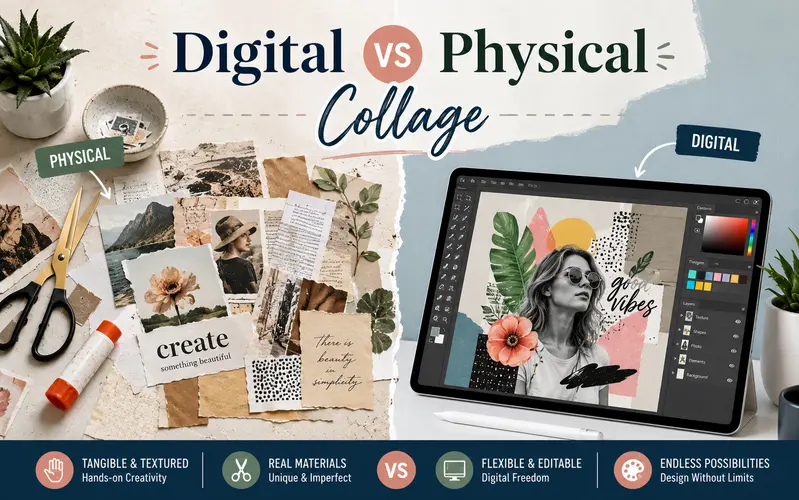
Physical Collage:
- Tactile and hands-on
- Unique textures
- Requires materials
Digital Collage:
- Easier to edit
- Unlimited undo
- No physical waste
Best approach:
Combine both methods. Create layouts digitally, then recreate physically for final artwork.
Collage Ideas for Beginners
If you’re stuck, try these themes:
- Dream landscapes
- Travel memories
- Mood boards
- Nature compositions
- Personal identity story
- Vintage aesthetic collage
Start simple, then increase complexity over time.
FAQs
What is the easiest way to make a collage?
Start with simple magazine cutouts, a theme, and basic glue. Arrange before sticking.
What materials are best for collage?
Paper, glue stick, scissors, and magazines are enough for beginners.
Can I make a collage digitally?
Yes, you can use apps or software to create digital collages easily.
How do I choose images?
Pick images that match your theme or mood and group them for easier selection.
What makes a collage look good?
Good layout, balance, clear focus, and simple design make it look professional.
Final Thoughts
Learning how to make a collage is not just about cutting and pasting—it is about storytelling, composition, and creativity. The more you practice, the more your personal style develops.
Focus on planning, balance, and layering instead of rushing the process. With time, your collages will become more expressive and visually powerful.
Collage art rewards experimentation, so don’t be afraid to test new ideas and break traditional rules once you understand the basics.