How to Fix Shaky Hands Photography Many photographers face a common problem: they capture what feels like the perfect shot, but when they check the image, it turns out slightly blurry. Most people immediately assume that their hands are the problem. However, the reality is different.
Shaky photos are usually caused by a combination of incorrect camera settings, weak shooting technique, and environmental conditions, not just unsteady hands. The good news is that this issue is completely manageable with the right approach.
What Is Camera Shake?
Camera shake refers to unwanted movement of the camera during exposure, which results in blur across the entire image.
It is important to distinguish it from other types of blur:
- Focus error: The subject is soft, but other parts of the image are sharp
- Subject motion: Moving subjects appear blurry while the background remains sharp
- Camera shake: The entire image looks slightly smeared
Sharp images are essential because they directly impact image quality, professionalism, and editing flexibility.
The Three Main Causes of Shaky Photos
Camera shake is usually caused by three key factors:
Physical Factors
These include:
- Poor grip technique
- Unstable posture
- Muscle fatigue
- Natural hand tremor
Technical Factors
These involve camera settings such as:
- Slow shutter speed
- Incorrect exposure balance
- Image stabilization turned off
Environmental Factors
External conditions also play a role:
- Low light
- Cold weather (causing stiff muscles)
- Wind or uneven ground
Key Insight: Most blurry photos are not due to bad equipment, but due to a mismatch between technique and settings.
How to Hold Your Camera Properly

Correct camera handling is one of the most effective ways to reduce shake.
Proper Grip
- Right hand: Hold the camera grip firmly
- Left hand: Support the lens from underneath
- Elbows: Keep them tucked into your body
- Camera position: Keep it close to your face
Body Position
- Stand with feet shoulder-width apart
- Keep one foot slightly forward
- Maintain a slight bend in your knees
Additional Tip
Using the viewfinder instead of the screen adds an extra point of stability by supporting the camera against your face.
Breathing and Shutter Control
Breathing plays a surprisingly important role in stability.
Follow this simple method:
- Take a normal breath
- Exhale halfway
- Pause briefly
- Press the shutter smoothly
Avoid holding your breath, as it increases tension and can cause more shaking.
The Importance of Shutter Speed
Shutter speed is the most critical setting for preventing camera shake.
Basic Rule
Minimum shutter speed = 1 ÷ focal length
Examples:
- 50mm lens → 1/50s
- 100mm lens → 1/100s
Recommended Rule
In real-world conditions, it is safer to use a faster speed:
- 50mm → 1/100s
- 200mm → 1/400s
This provides extra stability, especially in low light or when using heavier lenses.
Camera Settings That Improve Stability
To reduce camera shake, prioritize your settings in this order:
Shutter Speed
Always keep it fast enough to freeze movement.
ISO
Do not hesitate to increase ISO when needed.
A sharp image with slight noise is better than a blurry one.
Aperture
Use wider apertures such as f/1.8 to f/2.8 in low-light situations.
Using Image Stabilization
Modern cameras offer stabilization systems such as:
- IBIS (In-Body Image Stabilization)
- Lens-based stabilization (OIS/VR)
These systems can reduce shake by several stops, allowing sharper handheld shots.
However, remember:
- Stabilization helps with camera movement
- It does not stop motion from moving subjects
Practical Techniques That Work
Several simple techniques can significantly improve sharpness:
Burst Mode
Capture multiple frames quickly.
The middle frames are often the sharpest.
Use Physical Support
Lean against:
- Walls
- Trees
- Tables
Strap Tension Technique
Pull the camera strap tight to create extra stability.
DIY String Monopod
A simple string under your foot can act like a stabilizer and reduce movement.
Equipment That Helps Reduce Shake
While technique is more important than gear, certain tools can help:
Tripod
Best for:
- Night photography
- Landscapes
- Long exposures
Monopod
Ideal for:
- Sports
- Wildlife
- Events
Gimbal
Primarily used for video, not necessary for still photography.
Photography with Shaky Hands or Tremor
If you naturally have shaky hands or a tremor, you can still succeed in photography.
Recommended approach:
- Use faster shutter speeds (1/250s or higher)
- Enable stabilization systems
- Use burst mode
- Take advantage of external support
Many professional photographers work successfully despite tremors by adapting their workflow.
The Role of Stress and Anxiety
An often overlooked factor is mental state.
Stress and pressure can increase hand tremors due to:
- Muscle tension
- Shallow breathing
- Over-gripping the camera
Solution
- Relax your grip
- Avoid focusing on a single perfect shot
- Use burst mode for multiple chances
- Maintain steady breathing
Training Your Stability
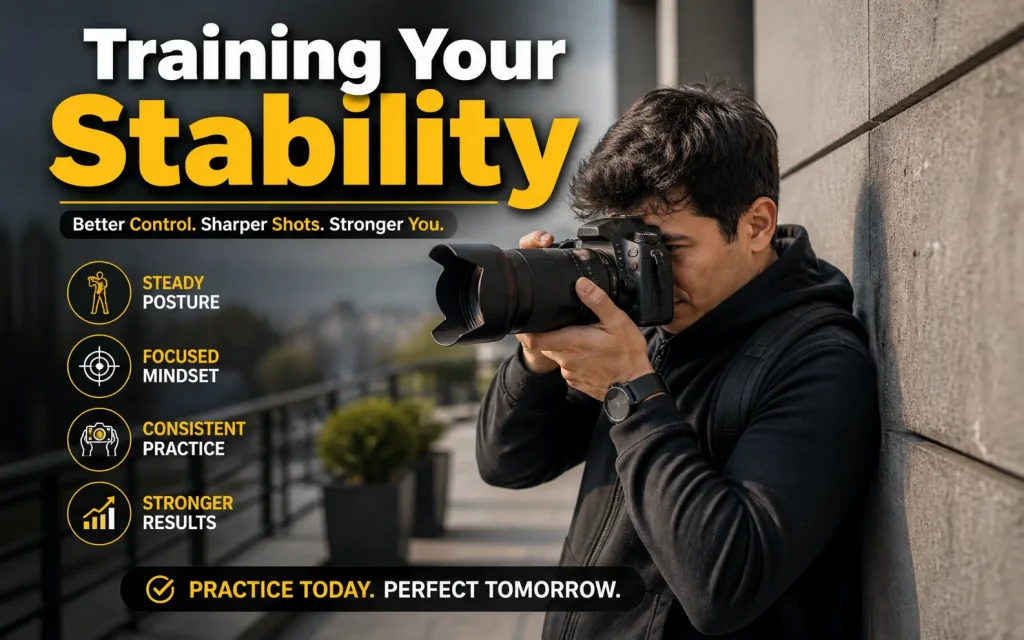
Stability improves with practice. Spend 5–10 minutes daily on these exercises:
Threshold Testing
Experiment with slower shutter speeds to find your personal limit.
Dry Practice
Practice holding and pressing the shutter smoothly without taking photos.
Support Comparison
Take the same shot using:
- Freehand
- Wall support
- Strap tension
Compare results to understand what works best.
Fixing Slight Blur in Editing
Post-processing tools can help recover mild blur:
- Lightroom sharpening
- AI tools like Topaz Sharpen
However, severe blur cannot be fully corrected.
It is always better to capture sharp images in-camera.
FAQs: How to Fix Shaky Hands Photography
What is the fastest way to fix shaky hands in photography?
Increase shutter speed and hold the camera with both hands while keeping elbows close to your body.
What shutter speed should I use to avoid blur?
Use at least 1/focal length (example: 50mm → 1/100s) or faster if your hands are shaky.
Can shaky hands be fixed without a tripod?
Yes. Proper grip, faster shutter speed, image stabilization, and body support can reduce shake without a tripod.
Does image stabilization really help?
Yes. It reduces small hand movements and helps produce sharper handheld photos, especially in low light.
Why are my photos still blurry even with good technique?
Your shutter speed may still be too slow or your lighting conditions may require higher ISO or better stabilization.
Can editing fully fix shaky photos?
No. Editing can improve mild blur, but strong camera shake cannot be fully recovered.
Conclusion
Shaky hands are rarely the real problem in photography. The real issue is usually a combination of incorrect settings, poor technique, and challenging conditions. Once you understand and control these factors, sharp photography becomes consistent and reliable. With practice and the right approach, anyone can overcome camera shake and produce professional-quality images.